Art Study: Impressionism
We learned about Claude Monet this week and how he helped start the Impressionist movement. Impressionism focuses on capturing the light, color, and feeling of a moment in nature rather than painting every detail realistically.
Monet’s technique involved dabbing colors side by side and layering them to let the eye blend them, instead of mixing the paints smoothly on a palette.
This is the book we've been studying:
⭐ A Child's Introduction to Art
Impressionism with Crayons
The children and I wanted to try impressionism for ourselves. We gathered our Stockmar Block Crayons, a sheet of paper, and a craft board, then began dotting the page with color.
At first, it felt like nothing was happening—each stroke only covered a tiny patch—but little by little the picture came to life. We enjoyed trying out new color combinations, like purple and blue in the grassy meadow, orange and yellow in the clouds.
Monet believed that black didn’t exist in nature—he saw only color. So try using only colors to create your shadows and depths.
When I wanted to soften or blur parts of my drawing, I used the white crayon. It worked beautifully to create a hazy, glowing effect.
For this project, I used only the Stockmar Block Crayons. Their unique shape offered a surprising range of marks—thin lines from the pointed edges and broader strokes from the varying flat sides.

Materials:
⭐ Tape
Tips:
-
Tape your paper down to keep it from sliding around while you work and create a clean, crisp border around your image when the tape is removed. We used regular painter’s blue tape on standard printer paper. When removing the tape, gently lift a corner that's on the paper and pull it down and away from the page (rather than along the edge) to help prevent tearing.
-
Create a soft background first. Use the broadest edge of your block crayon to gently shade in a light base—like pale green for a meadow or light blue for the sky. This gives your picture a gentle foundation before you start adding the dabs and strokes of bolder colors.
-
Display your finished artwork proudly! We used one of our magnetic Picture Hangers to showcase the completed piece. The one in my photo is the 8.5-inch size, and it’s perfect for displaying your child’s Impressionist-inspired masterpiece.

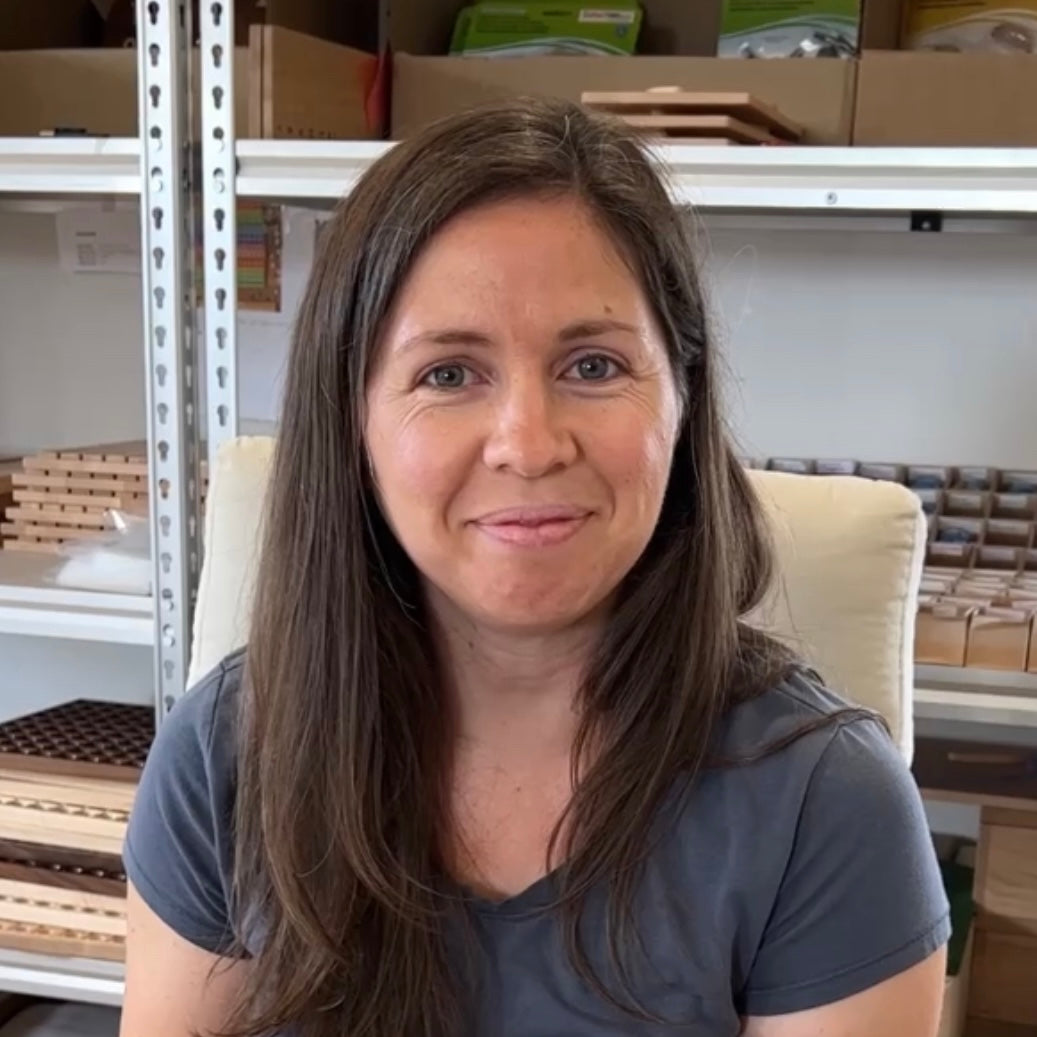
Hi, I'm Jennifer!
Mother to five children, wife to my amazing husband Joe, and we are honored owners of "From Jennifer" where we design, create, and ship our wonderful wooden educational toys and more. Each item we offer is created to bring a natural beauty to your space and inspire a love for learning. In my blog, I will strive to share creative ideas of how to use them along with other information, product releases, and updates around the shop. Please let me know in the comments if what I'm sharing is helpful!


0 comments